
New hood bumpers
Hood dents
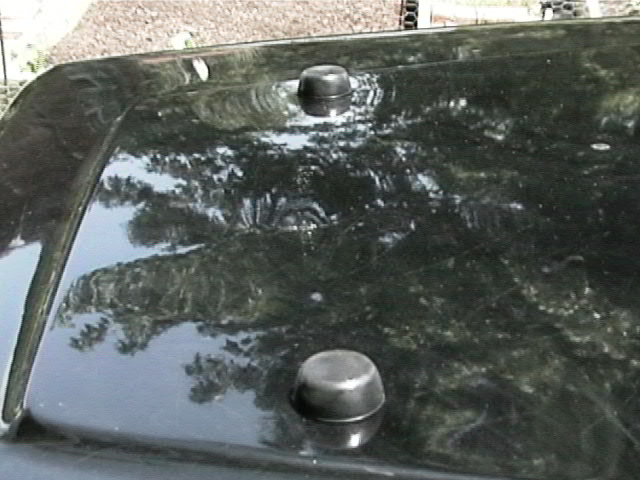
Like most vehicles, short-wheelbase Jeeps like the CJ, YJ, and TJ have a rod in the engine bay that’s intended to hold the hood open while you’re working on it. This is fine for working near the front of the engine, but if you want easy access to the back of the engine bay, the easiest way is to just lay the hood all the way back against the windshield. The drawback to this is that you then have your metal hood resting against whatever is at the top of your windshield — either the metal frame, a fiberglass hard top, or a canvas soft top. Any of those will scratch the paint on your hood if the hood shifts at all while it’s up there, and if you drop the hood too hard against the windshield, you’ll have a nice crease across the front of your hood. I’ve suffered both of those afflictions on my ‘95.5 YJ. Most people throw a rag or something between the windshield and hood (photo below), but sometimes either you forget or you don’t have one handy.
New TJ hood bumpers
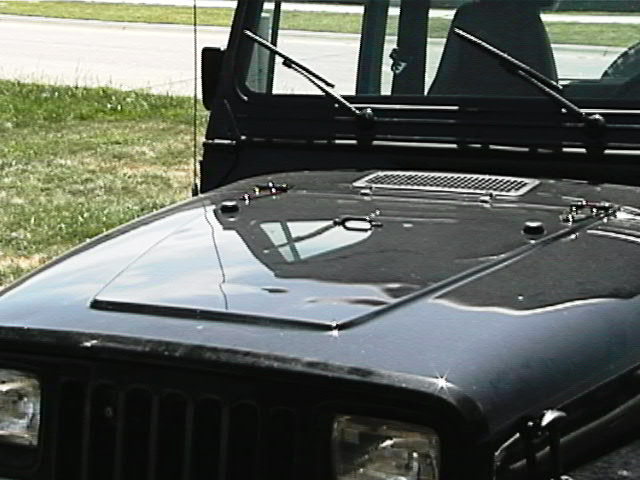
Shawn Krull of the Capital City Crawlers (a local Jeep club) showed me a solution to this problem. I simply got a pair of those same hood bumpers that the windshield is intended to fold down onto and mounted them farther forward on the hood so that they act as cushions between the hood and the top of the windshield. Older Jeeps (like Shawn’s CJ-7 and most YJ’s) use rubber-coated footman loops for those bumpers. However, the ’97-present TJ’s (and late-’95 YJ’s like mine) use 1.5″ round, solid-rubber bumpers. These provide a much softer cushion, and IMHO, look much better.
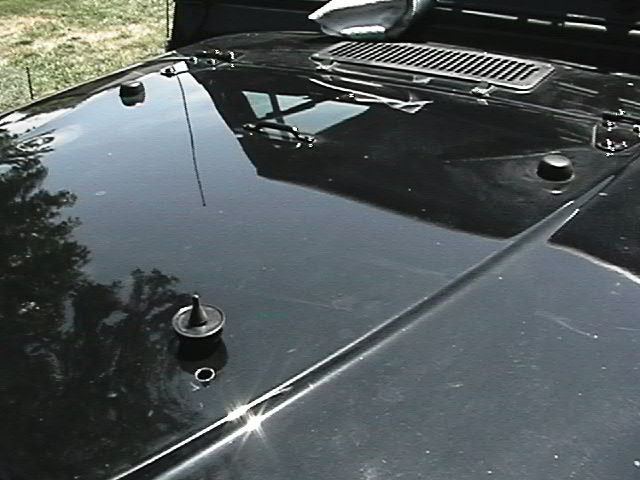
Hood hole drilled
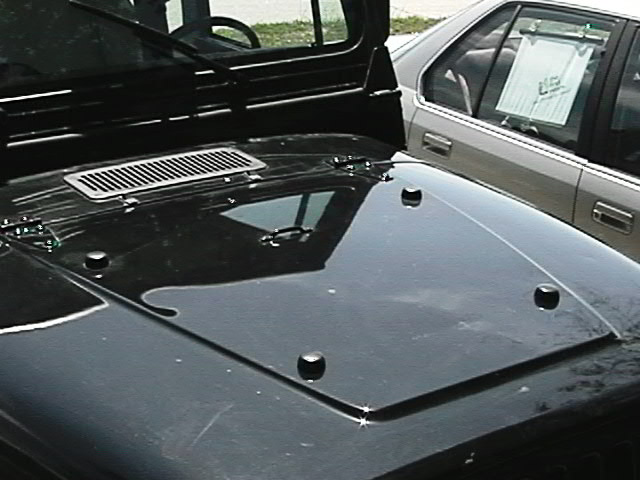
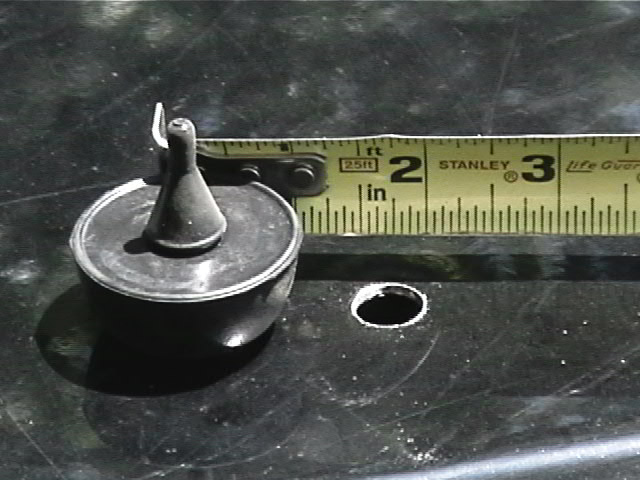
I was able to pick up a pair of these bumpers at the local Jeep dealer for $14. They mount by squeezing a plug on the bottom of the bumper through a 1/2″ hole in the sheet metal. The sheet metal of the hood snaps into a groove between the bumper and plug to hold it in place. Couldn’t get much simpler. I was a little nervous about drilling two 1/2″ holes in my hood, but after re-measuring everything several times, I finally took the plunge. I finally decided that the ideal location for the mounting hole placed the center exactly 6″ rearward from the top edge of the raised portion of the hood, and 2″ inboard from the top edge of the side. (This is somewhat clearer in the photo below.) This places the new bumpers the same distance from the edge of the raised area as the old bumpers. Placing the bumper 6″ back was a compromise between resting the bumper on my hard top and resting the bumper on the top of the windshield frame when I’m topless. I measured several times and considered the location very carefully, and I think the spot I chose should be just about perfect.


Here’s the basic installation steps:
-

Hood hole drilled
Lay your hood back against your windshield with a couple towels in between. The new bumpers are about 5/8″ thick, so keep that in mind when measuring. If you have several different tops that you use (hard/soft/none), remember that they won’t all hit your hood at exactly the same place. On a YJ hood that runs both a hard top and no top, 6″ back from the top edge of the raised hood portion is about perfect. That’s 29-1/8″ forward of the back edge of the hood. For a finished look, try to make the side-to-side location identical to that of your existing hood bumpers.
- Measure it again. Once you drill a hole in your hood, there’s no turning back.
- Measure it again.
- Dimple the correct spot with an awl. Drill a small pilot hole, then a 1/2″ hole for each bumper. Be sure to put a piece of plywood or something under your hood when you drill so that you don’t slice into a radiator hose or something when the bit finally punctures the hood.
- Use touch-up paint (or anything else you have on hand) to coat the exposed metal edges of your new holes so they don’t rust. If you have a fiberglass hood, you can skip this step.
- After the paint dries, insert the bottom plug from the bumper into the hole and pull it into place from underneath.
- Tilt your hood back against the windshield to verify that you performed steps 1 through 3 correctly.
Installation took about an hour, most of which was spent measuring and waiting for paint to dry. The finished product looks like a factory job. The hood looks kind of “busy” with four bumpers and a footman loop, but I’m sure I’ll get used to it. I love knowing that the scratches and dents on my well-worn hood won’t get any worse — not that I’d probably notice if they did.


