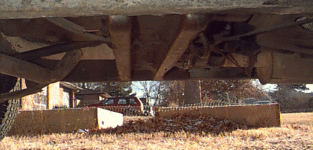
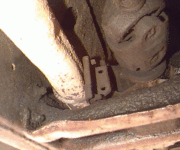
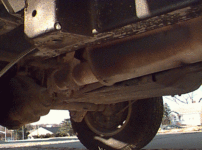
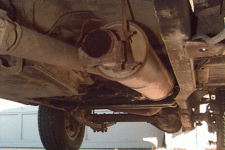
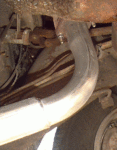
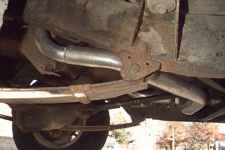
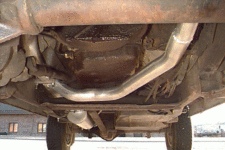
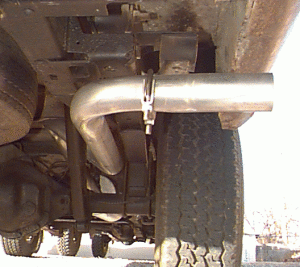
 When we first bought our ’77 Wagoneer, it was missing half the exhaust pipe and leaked fumes everywhere. What remained of the stock exhaust system (just a couple inches past the muffler) was very rusted and beat-up. I could have just gotten a new tail pipe and made do with the stock setup, but since I wanted to use this to tow my YJ through the mountains, I needed as much power as possible. I therefore opted to remove everything behind the manifolds and have the 2″ and 2.25″ stock setup replaced with a 2.5″, custom-bent aluminized pipe and IronTuff muffler. The work was done by Exhaust Pros of Lincoln (aka Husker Exhaust) and cost $250.
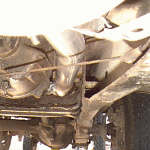 I’d originally wanted to put in a 3″ system. Bigger is always better, right? Well, not always. For starters, the clearance between the QuadraTrac t-case and the right frame rail is pretty tight. The stock pipe is crimped and bent into an odd shape to squeeze by there. A 3″ pipe could probably have been squeezed through there, but it probably would have made the t-case a little hot and it definitely would have rattled when things started bouncing around on the road. Besides that, several exhaust shops explained that the exhaust gasses need to maintain adequate velocity when flowing through the pipes. The narrower the pipe, the faster the exhaust must flow. They didn’t recommend going more than 1/2″ over the stock size, which left me with a 2.5″ exhaust system. It also saved me $150 vs the 3″ pipe. The 2.5″ pipe will still increase the flow capacity by 23% (vs 78% for a 3″ pipe), which is probably plenty for my application.
I considered replacing the stock manifolds with headers, but headers generally increase high-rpm performance at the expense of low-rpm torque. Since this is a tow rig that will rarely see more than 4000 rpm, it made more sense to stick with the stock manifolds.
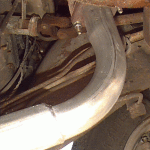 Hugo Flores and the gang at Exhaust Pros did a great job. The custom-bent pipe has much smoother lines, which should provide less turbulence for the exhaust gasses. The entire system is welded together and topped off with some silver paint to deter rust. The stock Y-pipe used a 2.25″ pipe to one manifold (passenger side?) and a 2″ pipe to the other manifold. Why the different sizes? Who knows. Exhaust Pros ran 2.5″ pipe up to within 8″ or so of each manifold, then necked the pipe down to the stock diameter to mate up with the factory manifolds. Pretty slick.
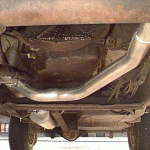 The only complaints came from the tranny shop that rebuilt my TH400 a few weeks later. Since the exhaust was welded together as one piece, they had to disconnect and twist the entire exhaust system before they could remove the tranny. E.P. had tack-welded the nuts attaching the pipe to the manifold, so those had to be ground off first. The tranny shop also complained that the new cross pipe to the driver side was a little close to the tranny’s oil pan, and could subject it to more heat than I’d like. During the engine rebuild, I installed a huge B&M transmission cooler in front of the A/C condenser to help counteract the exhaust heat.
Once I torqued down all the exhaust manifold-to-engine block bolts, the last vestiges of my in-cabin exhaust smells were gone. The Wag is now much quieter. I didn’t notice a change in power, since the Wag isn’t tuned very well, and I didn’t drive it much without an exhaust anyway.
Here’s some photos of the old exhaust (such as it was):
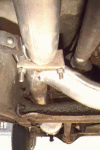
- Y-pipe, from left side
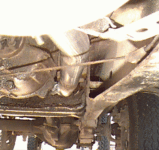
- Y-pipe and muffler, from left side
- Pipe between frame and t-case, from front
- Pipe between frame and t-case, from rear
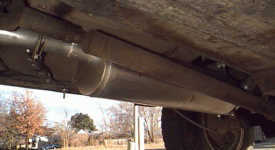
- Muffler and tailpipe, from right side
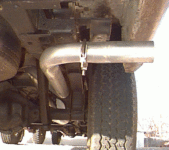
- Muffler and tailpipe, from right rear
Here’s some photos of the new exhaust:
- Y-pipe to manifold, driver side from right side
- Y-pipe, from left side
- Y-pipe and muffler, from front
- Pipe between frame and t-case, from front
- Pipe between frame and t-case, from rear
- Muffler, from left side
- Tailpipe, from rear
For a good explanation of performance tuning exhaust and other engine components, I recommend David Vizard’s book How to Build Horsepower, Volume 1 (ISBN 0-931472-24-5).


