
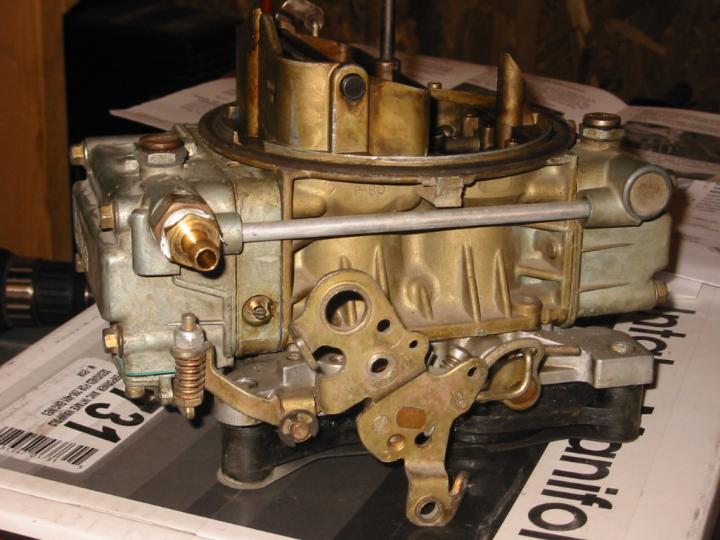
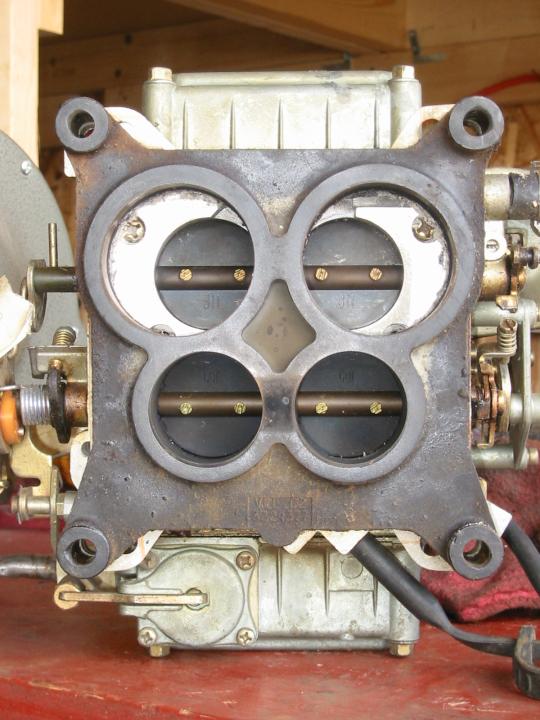
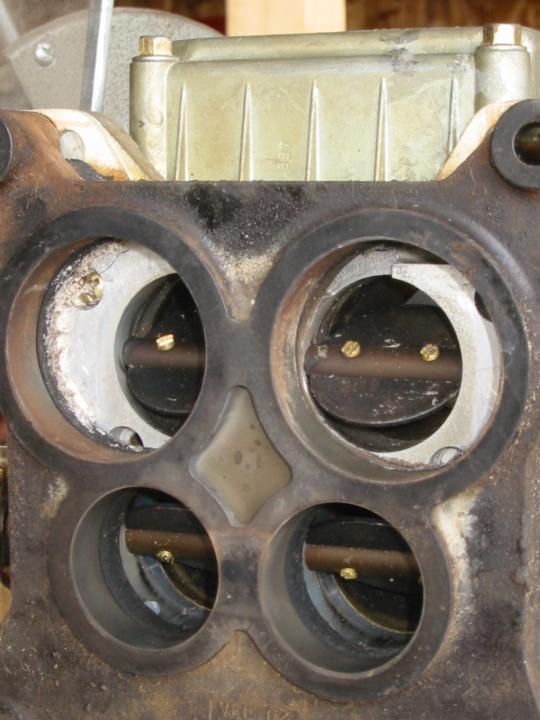
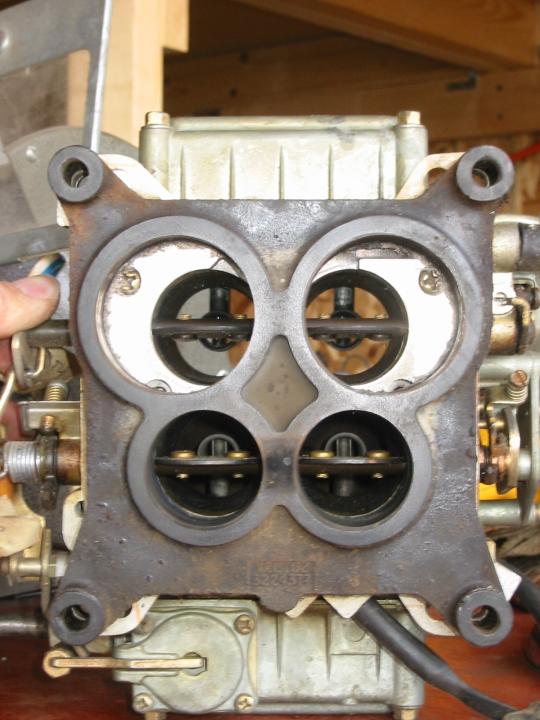
 By July 2002, I was finally finishing up the engine rebuild on the AMC 401 V8 in my ’77 Wagoneer. This vehicle was a bit of a basket case, especially under the hood. It had had 10 owners in the 9 years before we bought it, I later found. One of those owners had replaced the original Motorcraft 4350 carb (a 4-bbl, spread bore carb that flows around 540 cfm) with a Holley 1850-4 (a 4-bbl, square bore, 4160-style carb flowing around 600 cfm). Of course, as was typical of this truck’s previous owners, whoever installed the Holley merely slapped the new square bore carb down on top of the factory spread bore carb spacer. The primary ports lined up, but the secondaries didn’t, which prevented the secondaries from opening up more than 1/8″ or so.


Although the carb seemed to be OK when I dismantled the engine in June 2000 (yes, two years prior to reassembly), it sat uncovered for the duration, so I figured it could stand to be rebuilt. I also figured that it could stand to be tuned up, based on the condition of the rest of the engine. What better way to learn how a carb works than to tear one apart and rebuild it, right?
To help me get the job done, I picked up a couple of books on Holley carbs. The first, Super Tuning and Modifying Holley Carburetors, has an excellent section on rebuilding a 4160 carb, complete with photos and very detailed descriptions. It’s just was I needed for my first exposure to carbs. The second (actually the first book I bought), Holley Carburetors, Manifolds & Fuel Injection, contains a few rebuilding tips not mentioned in the other book, and it has a good section on troubleshooting and tuning Holley carbs. I decided to keep both books, because $18 was just a drop in the bucket compared to what I’d already spent on this engine rebuild.
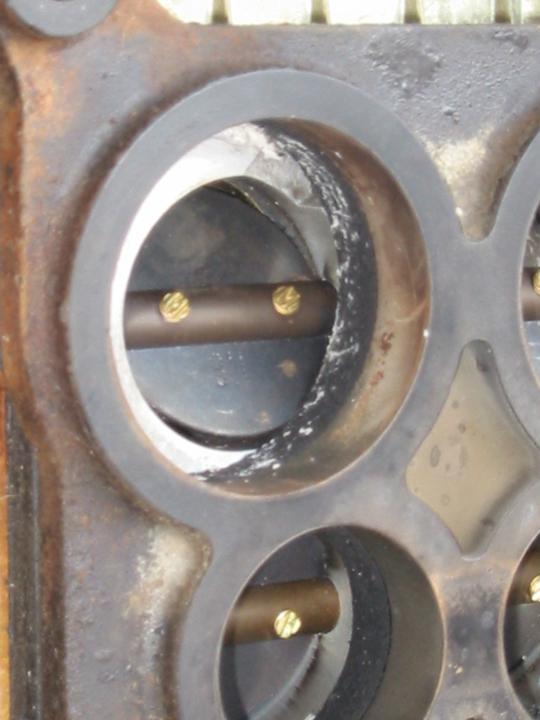
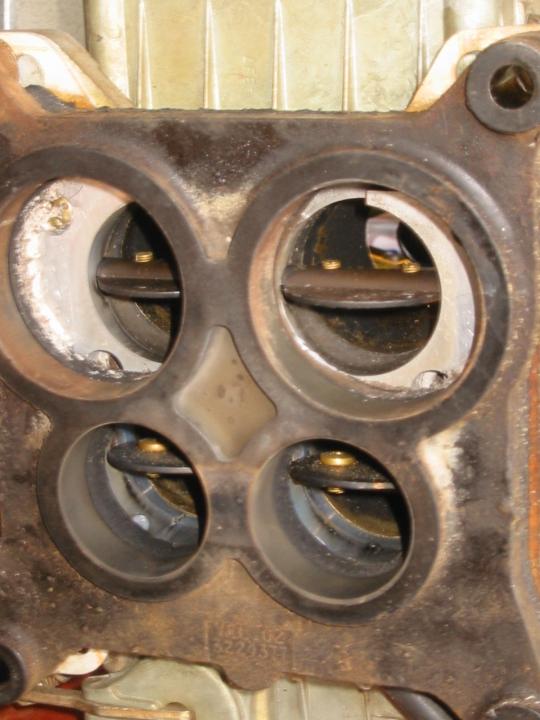
My first step was to clearance the factory carb adapter so that the secondaries could open all the way. Fortunately, the adapter was made of a soft material, so it only took a few minutes with a Dremel tool to create something that allowed the butterfly valves to open and still flowed at least half decently.

The rebuild kit I used was a generic Holley 4-bbl kit that cost $35 at O’Reilly. It contained all new gaskets, check balls, a power valves, float bowl inlets, and an accelerator pump diaphragm. Since it was a generic kit, it included a few parts that weren’t needed on my particular carb. It’s a bit disconcerting to put something that complicated back together and still have leftover parts, but that’s what’s supposed to happen in this case.
Rebuilding the carb itself took longer than it probably should have, partially because this was my first time and I probably did more than I really needed to in the way of cleaning the thing. I took about 140 digital photos during the process, which came in handy during reassembly when I couldn’t quite remember which way a part went. I basically just cleaned off all the crud, replaced all the gaskets, and tweaked a couple of adjustments to get them closer to the range recommended in the books. I didn’t want to adjust it too much before I put it on the engine, but I’m sure it could use some fine tuning once the rest of the engine gets broken in.
While the Supertuning book’s instructions were generally excellent, it did omit a couple of reassembly steps, such as telling you to reattach the throttle body early in the process. That was easy enough to reattach later on after I realized my mistake, though. The other caveat was that both books assume you’ve got an electric choke. My carb has a manual choke, so I had to reference the photos I took during disassembly to make sure I got all the linkage hooked up properly. Again, no big deal, just be patient and pay close attention to what you’re doing. It helps to play with all the moving parts as you’re doing the rebuild, so you’ll get used to how each part moves and you’ll recognize when something is amiss.
I’ll reiterate what was stated in the books: cleanliness and organization are key when doing your first extensive carb rebuild. Have good light and plenty of space to organize all the parts so you don’t get them mixed up on reassembly. Several of the parts look similar, and it may not be immediately obvious which one you’ve got if you’re just pulling one from a bucket o’ parts.